Selected Line
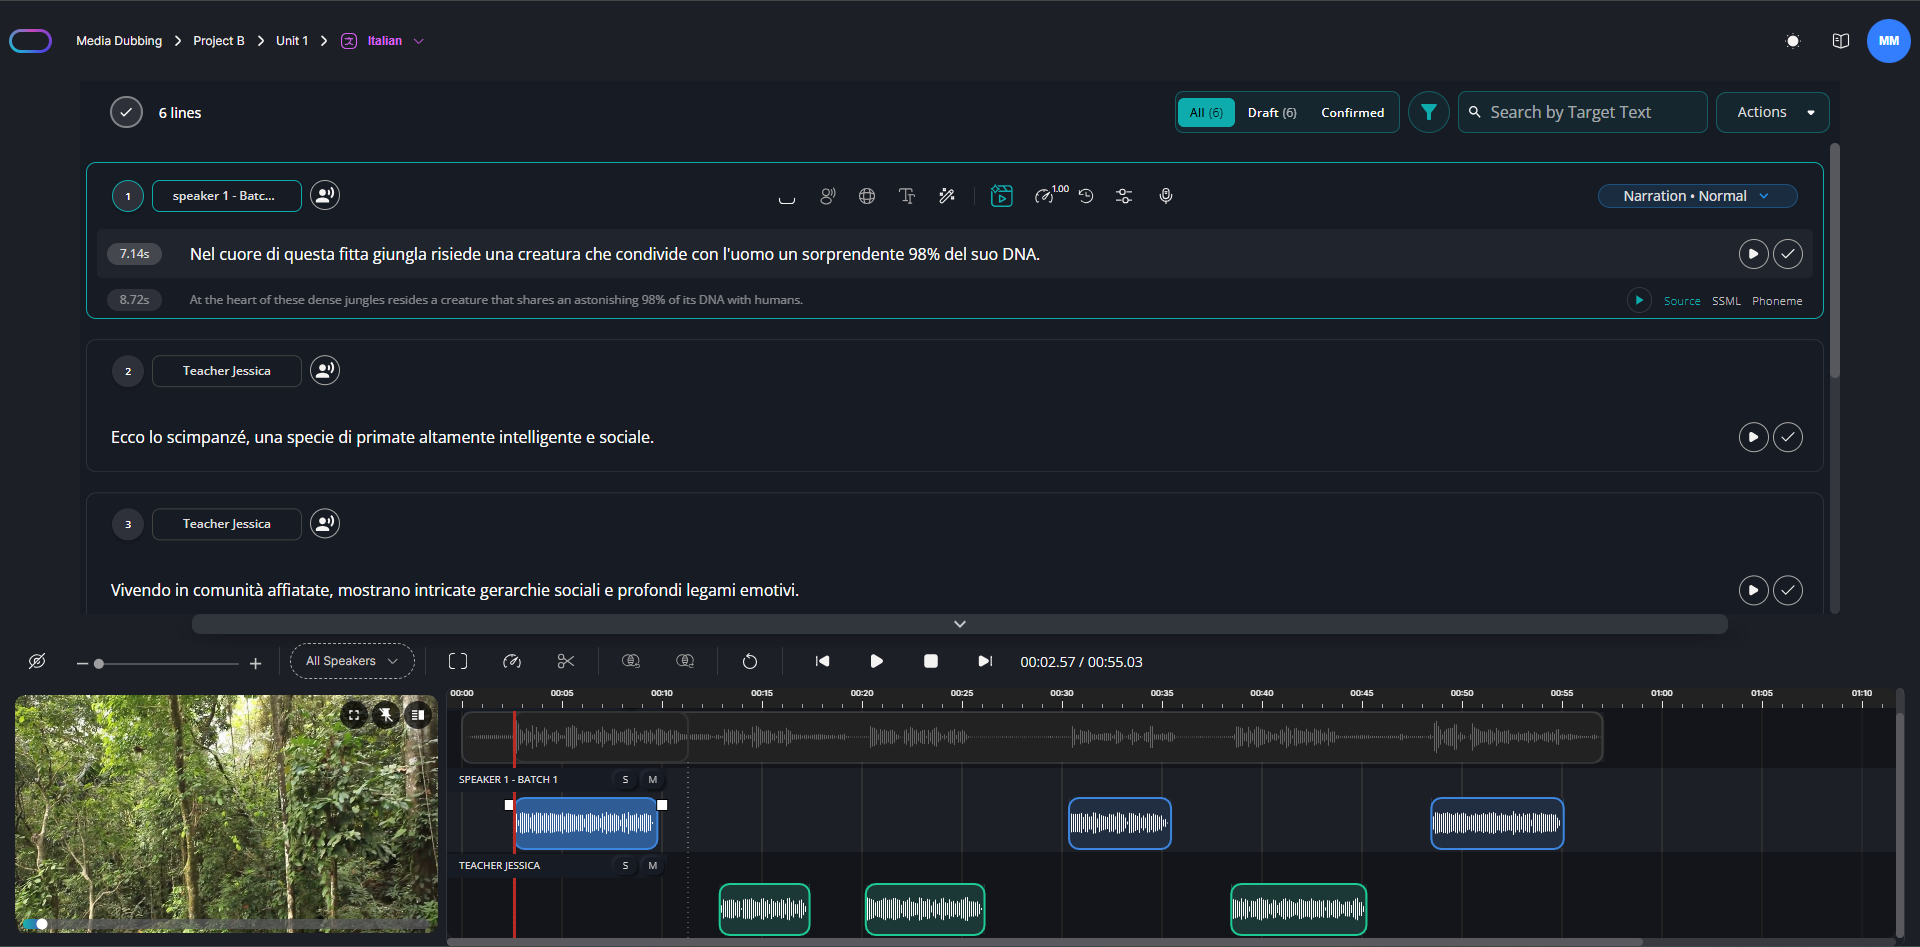
The Preview Page displays the script uploaded during batch creation, splitted into segments. The Preview Editor shows one target language at a time, and you can switch between target languages by clicking on the Language dropdown menu at the top.
The segments display the text for each line, along with various controls for content review. At the bottom, you can expand the Timeline, which, if a video was uploaded during asset ingestion, displays the video on the left and the source and target audio tracks on the right.
Text Editor
Edit the target script by clicking on a line and changing the text. Then, generate another take to apply the changes.
Character & Casting
The character and casting tools are located on the top left of a line. If necessary, you can change the character's name or assignment, or choose a different voice.

Insert Pauses
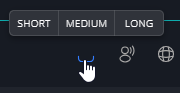
To insert pauses, place the cursor at the desired position in the text. Then, click the pause icon and choose a pause length – short, medium, or long. Finish the placement by clicking the confirmation icon.
Pronunciaton Control
In the line, you can also adjust and set the correct pronunciation of foreign and made-up terms in the target language. There are three options for pronunciation control:
 Pronounce As
This option enables you to input how a specific word should be pronounced. Select the word, click on the button to open the text field, and write how you want that specific word to be pronounced, as in the following example. This is particularly useful for acronyms, or made-up terms that don't exist in any language.

Then click the confirmation button to complete the action. To apply the changes, generate another take.
If you hover over the term with the edited pronunciation, the Add to Glossary button will appear, allowing you to directly add that term with the relevant pronunciation to the glossary.
 Edit Phonemization Language
This option allows you to choose the phonemization and pronunciation language from the available target languages. This is particularly useful for terms which have a set pronunciation in a foreign langugae. Click on the button to open the Custom Phonemization Language and Custom Pronunciation Language dropdown menus and select the phonemization and pronunciation language from the available options.

Then click the confirmation button to complete the action. To apply the changes, generate another take.
If you hover over the term with the edited pronunciation, the Add to Glossary button will appear, allowing you to directly add that term with the relevant pronunciation to the glossary.
 Custom Phonemization
This option allows you to set the specific phonemization of a selected term using International Phonetic Alphabet (IPA) symbols and to select the accent you want to apply to that term. Click on the button to open the Pronunciation Language dropdown menu to choose the accent you want to apply to the term, and the Custom Phonemization box to enter the phonemization as in the following example.

Then click the confirmation button to complete the action. To apply the changes, generate another take.
If you hover over the term with the edited pronunciation, the Add to Glossary button will appear, allowing you to directly add that term with the relevant pronunciation to the glossary.
 Rewrite with AI
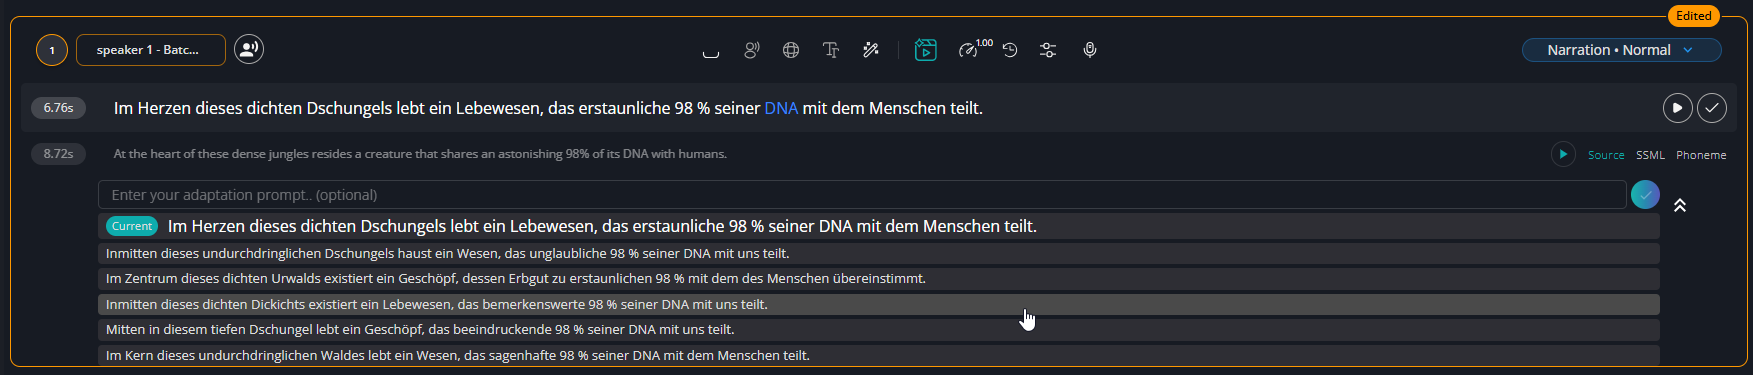
This text adaptation feature sends the selected line to an LLM and returns five alternative formulations. The underlying prompt has been optimized for script lines. Click on the button to send the text and receive the LLM responses.

After running the process, five alternatives will be displayed. Select your preferred version, and then edit it directly in the text editor if needed. You can also provide an optional prompt to further refine the alternatives.
Generate Take
This is the main action. Clicking this icon creates new takes based on the previous settings or text changes. This action will deduct credits according to the length of the new take.
Change Tempo
Change Tempo allows you to adjust the reading pace of the delivered line, enabling you to make it slower or faster compared to the suggested pace.
To edit the tempo rate, click on the  button, and choose the delivery pace.
Show History
When creating a batch, you can choose to generate up to three takes for each line of the script. To view alternative takes, simply click the  {" "}
icon.
{" "}
icon.
Here's how alternative takes are displayed:
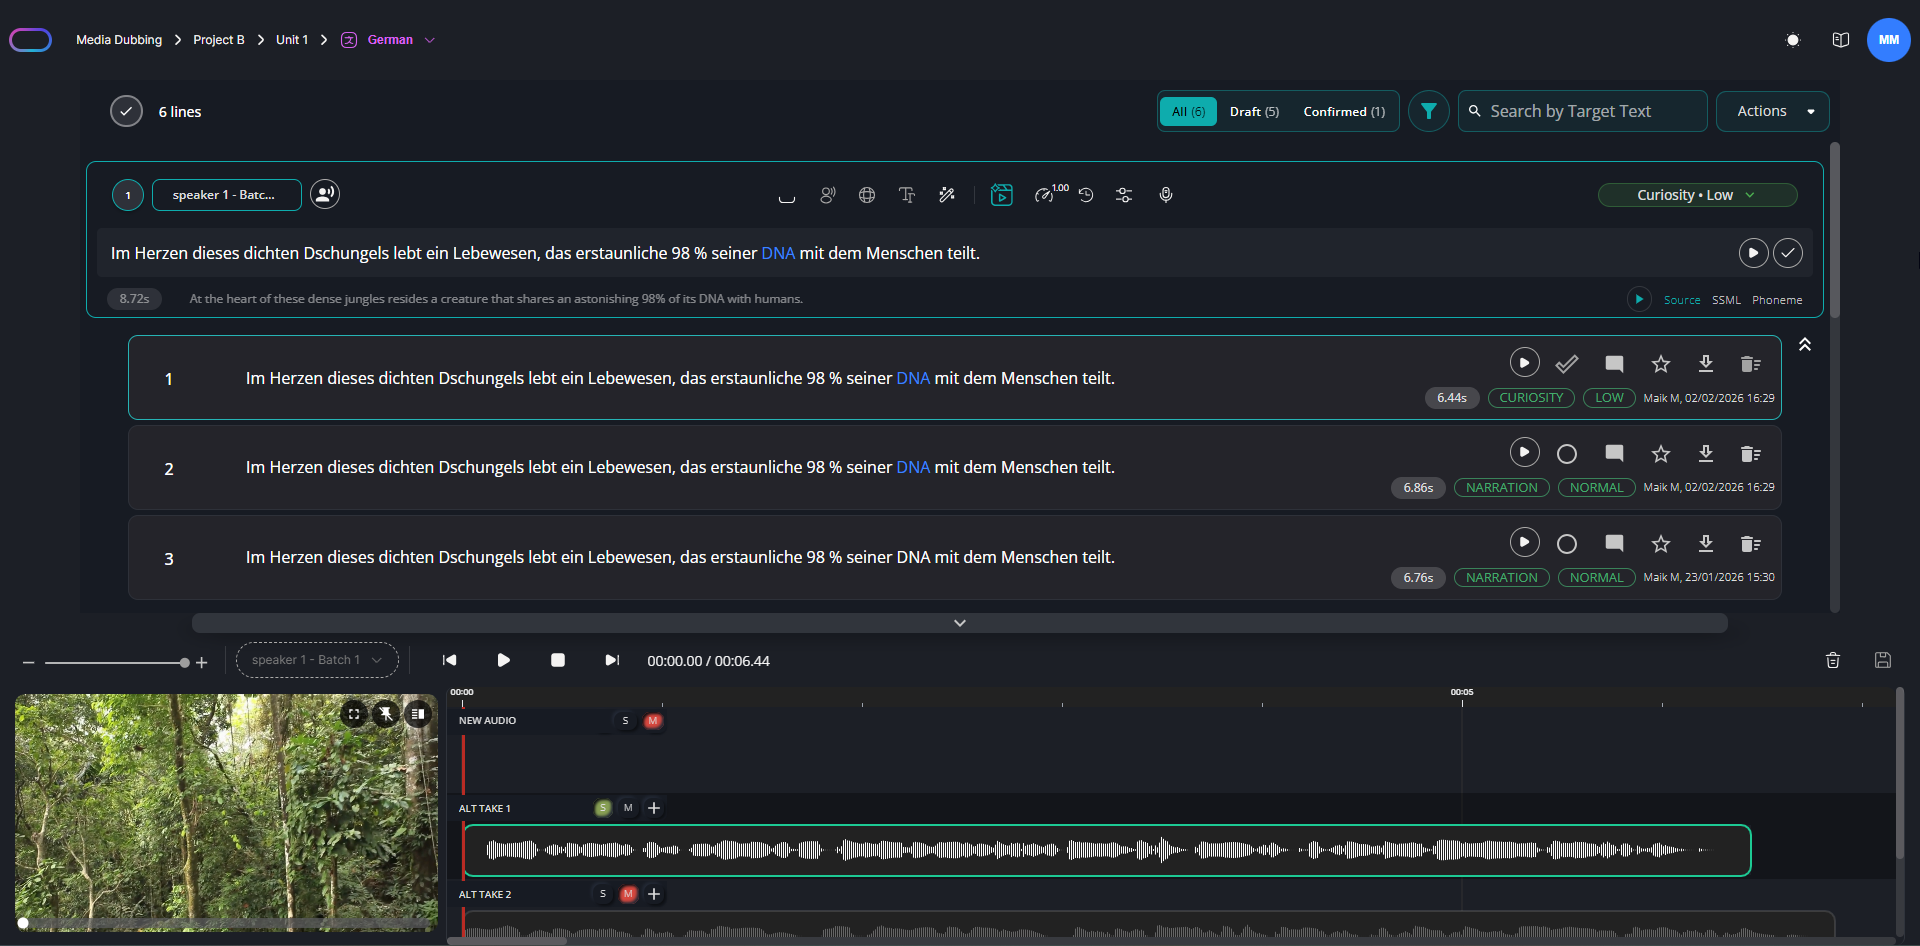
As shown in the screenshot above, the Alternative Takes view allows you to display details for each take, including the username and a timestamp. When you open a history, you can expand the timeline. From there, you can use the Chop/Merge feature to combine the best parts of different takes: add a region to a take in the timeline, adjust its boundaries, then repeat with other takes to merge them into one clean audio file.
Inference Settings
Inference Settings let you finetune the audio generation. Use them by clicking the  icon.
icon.
A higher Diversity value creates audio with more prosodic variety, while a higher Expressiveness value leads to more emotional output. In both cases, however, higher values can lead to unstable results, so moderate settings are recommended.
Record Voice
With the Record Voice feature, you can record your voice to guide the delivery of a line. The generated output will match the timing, prosody, and style of your recording. For the best results, use high-quality recording equipment in a quiet environment, as the system is sensitive to subtle background noise.
First, click the  button and then either record your voice or upload an audio file. Once your recording is ready, click the confirmation button to create your audio file.
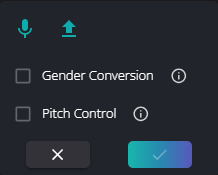
Two additional options can be enabled:
Gender Conversion adapts your voice when the character has a voice of the opposite gender.Pitch Control lets you adjust the pitch for a more customized audio output.
Emotional Prompts
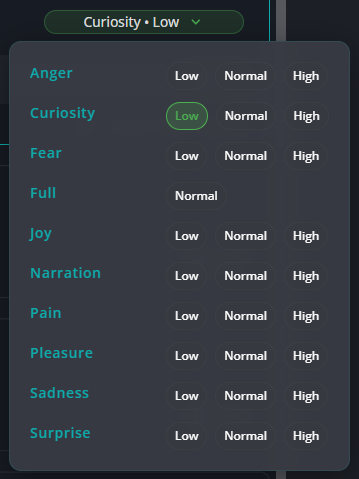
The prompt selection is located in the upper right corner of a line. Once you select a prompt, the audio will be generated based on your choice. To change the prompt, open the dropdown menu and select an emotion and intensity to guide the audio generation. Full conditioning is only available for Media and Line Dubbing, as these generate target-language audio based on the source audio. After selecting a new prompt, use the "Generate Take" action to apply the changes by generating a new take.